Bevielis maršrutizatorius 300Mbps Tenda D301 ADSL2+
Bevielis maršrutizatorius 300Mbps Tenda D301 ADSL2+
Hardware Features
Protocols & Standards IEEE 802.11n, IEEE 802.11g, IEEE 802.11b
IEEE 802.3, IEEE 802.3u
ANSI T1.413, ITU G.992.1, ITU G.992.2, ITU G.992.3, ITU G.992.5
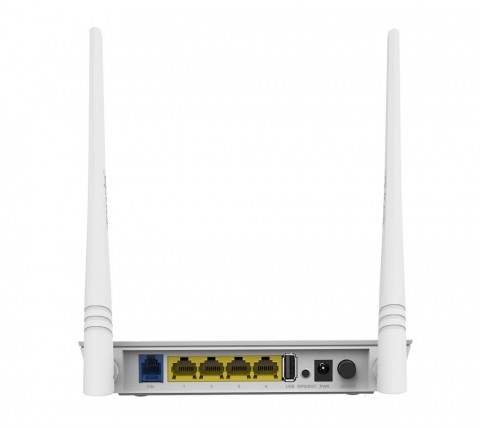
Interface 3*10/100Mbps auto-negotiation (Auto MDI/MDIX) LAN ports;
1*10/100Mbps auto-negotiation WAN/LAN Interchangeable port (Auto MDI/MDIX)
1* RJ11 port
1* USB V2.0
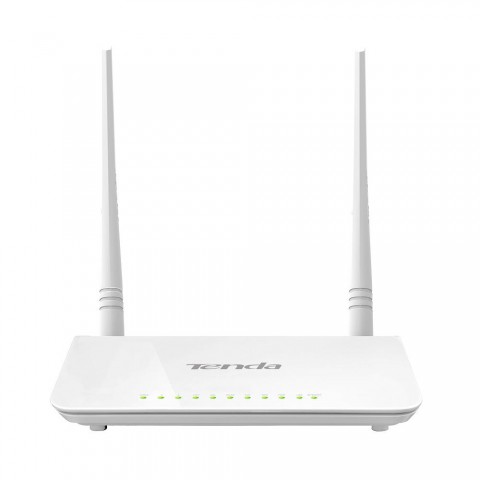
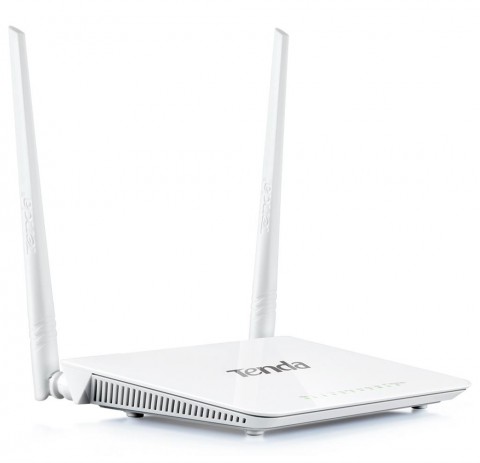
Antenna 2* external omni-directional antennas
Button 1* Power
1* Reset/WPS
Power Input: 100-240V 50/60MHz
Output: 9V DC-1A
Temperature Operating Temperature: 0℃ ~ 40℃;
Storage Temperature: -40℃ ~ 70℃.
Humidity Operating Humility:10% ~ 90% RH Non-condensingStorage
Humility:5% ~ 90% RH Non-condensing
Dimensions (L*W*H) mm 171.61mm*111.16mm*34.47mm
LED Power/SYS/Internet/DSL/WLAN/LAN/WPS/USB
Transmission Media Cat.5
Cat.5e
Cat.6
Phone Cable
Wireless Features
Wireless Speed 300Mbps
Frequency 2.4GHZ
Basic Features Wireless Radio: On/Off
SSID Broadcast: On/Off;
WDS: On/Off
Channel: Auto, 1-13
Network Mode: 11b only, 11g only, 11n only, 11bg mixed, 11bgn mixed
Channel Bandwidth: Auto, 20MHz, 40MHz
Security Wireless Access Control (Wireless MAC filter); Wireless Security:
Enable/Disable; 64-/128-bit WEP; WPA-PSK/WPA2-PSK
Operating Mode Wireless ADSL/ADSL2+ Modem Router, WDS
Software Features
Internet Connection Type Dynamic IP
Static IP
PPPoE
PPPoA
IPoA
DHCP Server Yes
Virtual Server Yes
Security Port/URL/MAC Filter
DDNS Yes
TR-069 Yes
VPN Pass-through PPPTP, L2TP, Ipsec
Bandwidth Control Yes
Static Route Yes
Logs Yes
VLAN 802.1Q VLAN
USB V2.0 Yes
Others TR-069, IPV6, IPTV
Others
Package Contents D301
Power Adapter Quick Install Guide Ethernet Cable ADSL Splitter Phone Cable
Factory Default Settings Login IP Address: 192.168.1.1,
Internet Connection Types: Bridge,PPPoE,PPPoA,IPoA,DHCP (Dynamic IP), Static IP
SSID: Tenda_xxxxxx (where “xxxxxx” represents the last six characters of device MAC address)
Channel: 6
IP Address Pool: 192.168.1.2 – 192.168.1.254
3 Install Steps Step 1. Connect all cables following the QIG.
Step 2.Insert the CD into your PC’s drive.
Step 3.Configure it using the “Setup Wizard” on the CD.
Certificates 3C/ROHS/CE/FCC

 Samsung UE49RU8002T (BN94-14136G)-480x480.jpg)